
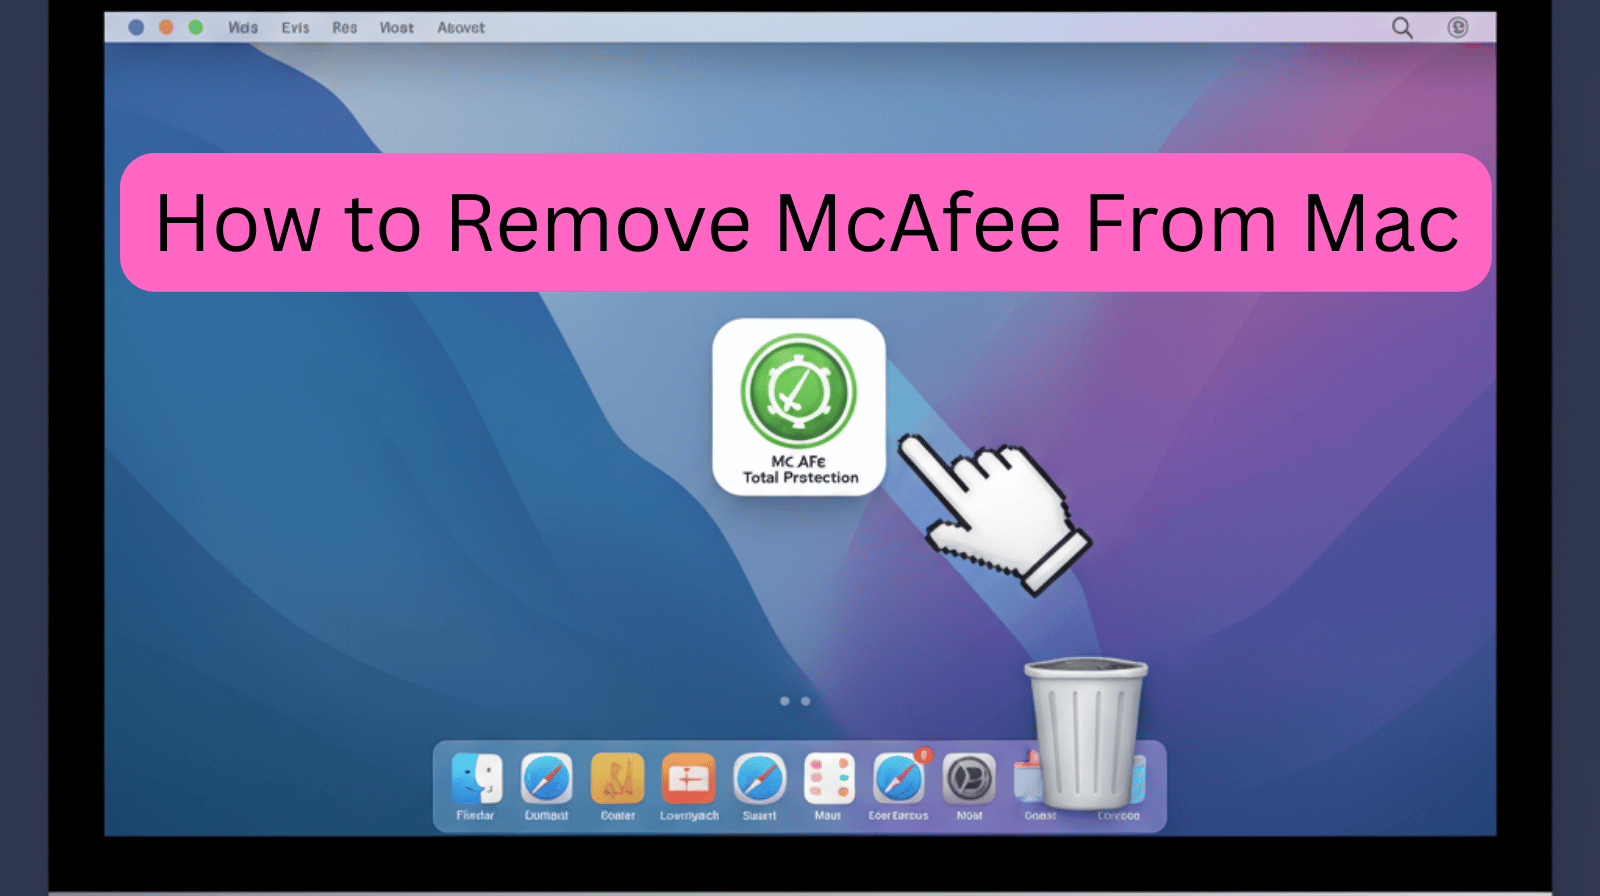
If you’re looking to free up space or simply switch to another antivirus program, removing McAfee from your Mac can be a smart move. While the software is designed to protect your system, some users find it slows performance or conflicts with other applications. Unfortunately, uninstalling McAfee on a Mac isn’t as simple as dragging it to the trash.
In this post, we’ll walk you through how to completely remove McAfee from your Mac using the proper methods—no leftover files, no terminal commands (unless you want to), just a clean uninstall.
Why You Might Want to Uninstall McAfee
Before we dive into how to remove it, though, let’s go over the typical reasons for removing McAfee.
- Performance trouble (slow computer, freezing)
- Expired Subscription: What other antivirus to switch to?
- System conflicts with other apps
- Annoying popups or background processes
- Whatever the reason, here’s how to completely get it off your Mac.
Method 1: Use the Official McAfee Uninstaller (Recommended)
McAfee includes its own uninstaller tool, which is the safest and most complete way to remove the software from your system.
Step-by-Step Instructions:
- Open Finder.
- Go to Applications > McAfee.
- Locate the McAfee Uninstaller.
- Open the McAfee folder and search for “Uninstaller” or “McAfee Uninstaller.app.”
- Launch the Uninstaller.
- To open the uninstaller, double-click the downloader in the Downloads window.
- Authenticate
You’ll need to enter the password you use for your admin username. This is necessary in order to permit system-wide modifications.
- Follow the Prompts
Choose the McAfee software you want to uninstall (such as McAfee Total Protection or McAfee WebAdvisor) and click Continue.
- Complete the Uninstall
After it’s done, your Mac should restart, and the changes will become active.
Method 2: Uninstall via Terminal (Advanced Users)
If for some reason the uninstaller isn’t available or doesn’t work, you can manually remove McAfee using the Terminal.
Warning:
This method is more technical. Terminal mistakes can hurt your system. However, only do so if you are okay with using command-line tools.
Terminal Command:
- Open Terminal (Applications > Utilities > Terminal).
- Run the following command:
sudo /Library/McAfee/cma/uninstall.sh
- Enter your admin password when prompted.
- Wait for the process to complete, then restart your Mac.
Check for Leftover Files (Optional but Recommended)
Even after uninstalling, some residual files may linger. You can remove them manually:
- Open Finder, then click Go > Go to Folder…
- Enter each of the following paths and delete McAfee-related files/folders:/Library/Application Support/McAfee /Library/LaunchDaemons/com.mcafee.* /Library/Preferences/com.mcafee.*
- Empty the Trash.
- Restart your Mac.
Final Thoughts
It’s not super hard to remove McAfee on your Mac—especially if you use the built-in uninstaller. Whether you’re switching to a new antivirus, troubleshooting common issues, or trying to streamline your setup with less bloat, the end goal is the same: an effective and efficient uninstallation.
Read: AVG Update Failed Due to Proxy Settings – How to Fix This Error


Leave a Reply